You’ve done your research into the various components that go into a solar system. Panels? Check. Inverter (or microinverter)? Check. Maybe even a battery? Check. But what’s the deal with a solar mounting system? In the solar industry, we sometimes call it a racking system, and it’s a crucial part of your solar system.
It is the metal framework that attaches your solar panels to your roof. But there’s so much more to it than that.
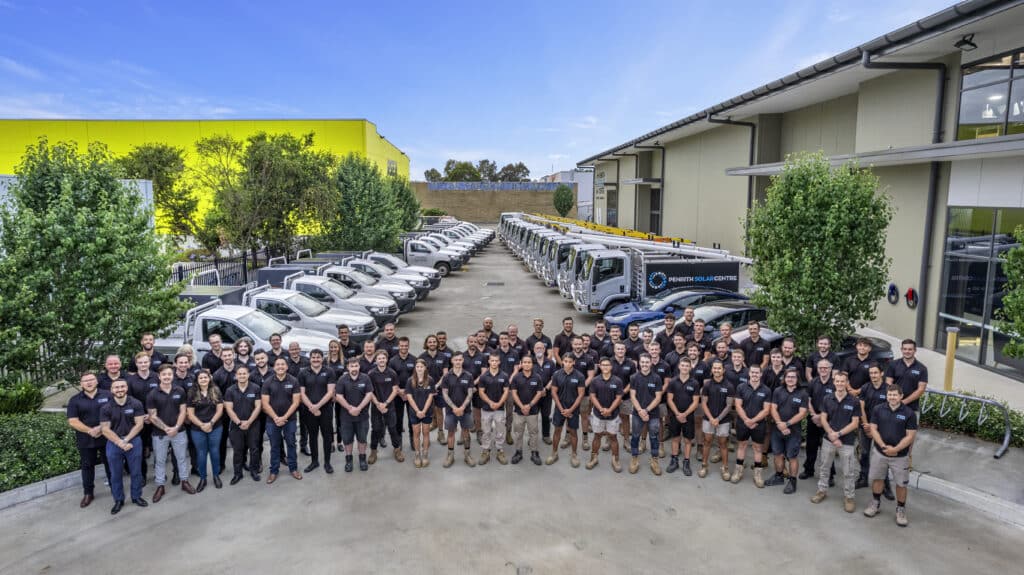
At Penrith Solar Centre, we understand that there’s a lot of technical information to absorb regarding the various components of a solar system. Each piece of equipment contributes to a complex series of mechanisms that make up your solar system. We’re here to help you understand each part of your solar system so you can make informed decisions about your investment in one.
In this article, you will learn:
- What is a Solar Mounting System?
- The Assembly Process
- Why We Like Schletter Brand Solar Mounting System
From the basic anatomy of solar mounting solutions to the meticulous installation process, we’re going to dive deep into this important part of your solar system. By the end of this article, you’ll understand a bit more about this pivotal piece of equipment.
What is a Solar Mounting System?
The solar mounting system (racking) consists of several key parts, each is important in ensuring the stability and functionality of your solar panel setup.
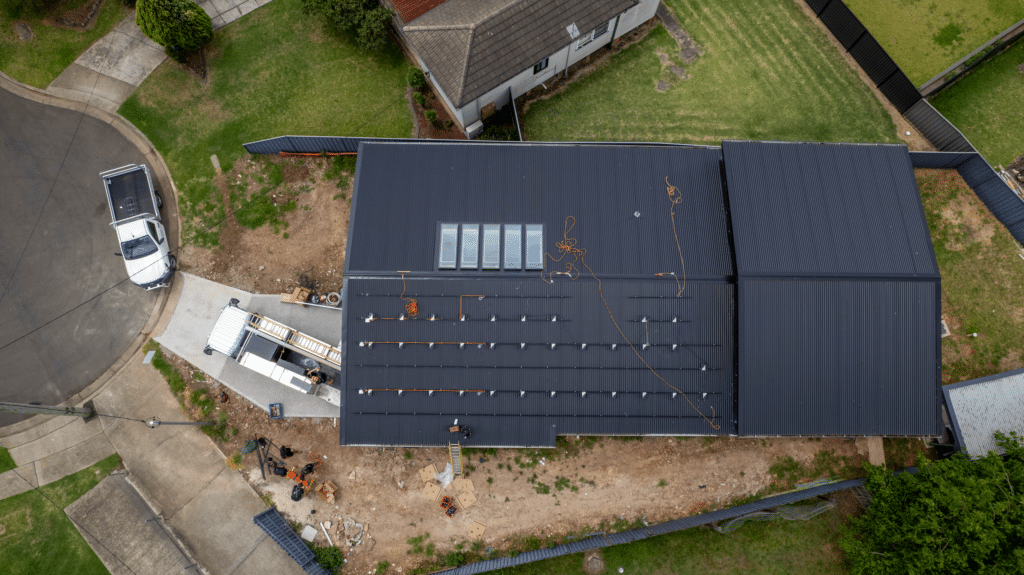
When you look at solar panels on a roof, you only see the panels. They are securely attached to the roof by a metal frame underneath them. That metal framework is made up of multiple components that are assembled together to form the solar mounting system.
We use a brand called Schletter and we’ll get into the why of working with them later in the article.
Roof mounted solar, which is the most common and cost-effective, is what we specialise in at Penrith Solar Centre. We use a general tin or tile racking kit for installation. For tin roofs, we replace existing screws with thicker gauge ones, ensuring a secure attachment to the roof batten. Cables are brought through the roof using a sealed system to prevent leaks.
For more information on solar installation, you might want to check out the following article titled, How Does Your Roof Affect Your Installation?
You can use a ground mount system, where panels are fixed to the ground using poles or footings. However, roof mount solar is cost-effective and doesn’t take up valuable real estate in on your property.
These key components make up the solar mounting system:
Rails: The rails form the backbone of the racking system. They’re the structure on which everything else is assembled. The rails, when assembled, run parallel to each other a little over one meter apart. The solar panels are mounted on the rails once they’re assembled.
Clamps: The clamps secure the solar panels to the rails, so they don’t sail away when it gets windy. There are mid clamps and end clamps depending on where on the rail they are used. If they go between two panels, they are mid clamps. If they are at the end of the rail, they are end clamps.
Foot: The foot is what attaches the rails to the roof. Each foot of the racking system is connected to the rails. The foot is an L-shaped piece of metal that is bolted to a truss under a tile or to a ridge on a metal roof.
Stainless Steel Screws with Rubber Washer: Each screw is sealed with rubber to form a seal when the top of the screw is exposed to the elements (for instance, when installing solar on a metal roof). It’s like a regular household screw, a little larger though, but with a rubber washer.
The Assembly Process
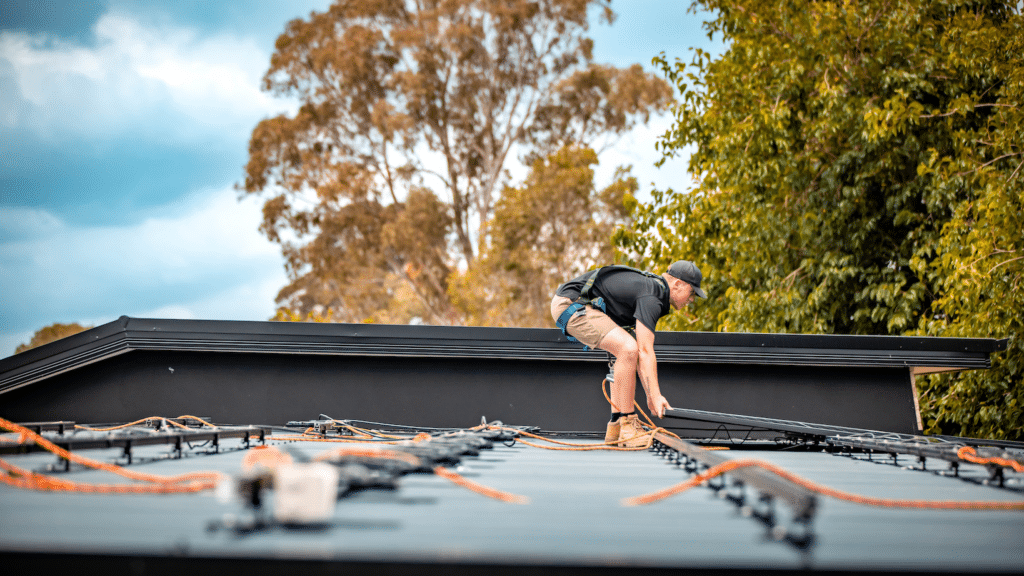
The solar mounting system assembly begins on the ground.
Feet Preparation: The install team shows up at the sight at 7 a.m. Crews have electrical apprentices with them, and it is the job of the apprentice to assemble the feet for the racking system on the ground.
Measuring: Before the racking is installed on the roof, the crew will take precise measurements to find the best placement for the feet.
It’s important to then identify where the roof trusses are. The truss is a structural part of the roof. They are the timber beams under the roofing material, regardless of whether it’s tin or tile. The trusses might be 900 mm apart, they might be a meter apart, or they might be 600 mm apart – it varies from roof to roof.
On a tile roof, there’s usually a truss under every fourth tile. It might be every third or fifth tile depending on the width of the tile, but it will be around that distance from each other.
A batten is different from a truss. A truss like a rafter that is used in a tile roof. A batten is a beam that rests on the truss when installing a tin roof. Battens get mounted on trusses and then the tin sheet gets screwed into the battens on metal roofs and the tiles rest on the battens on tile roofs.
For more information on installing solar on a tile roof, you might want to check out the following article titled, Considerations for Installing Solar On Terracotta Tiles.
Identifying the where the truss is is a really important part of the installation process. Licenced electricians and solar installers have to stick to rules and building codes. There are also the specifications from Schletter that are required for warranty fulfilment. If the racking system is installed out of spec, then the Schletter engineering certificate won’t be valid for the site. This nullifies the warranty, and no one is happy if that happens.
The solar mounting system must be installed so the entire system is at least 200 mil from any edge of the roof. At Penrith Solar Centre, we follow the rules to the letter, even if it means dropping a panel from the system to get an installation that’s compliant.
Installation: A tin roof is easier to install than a tile roof. On a tin roof, we’ll pull out the existing roof screw, after all the measurements have been taken. We pull out the existing roof screw that’s holding down the sheet of metal. Then we put the L-foot down and put a thicker gauge roof screw through the same hole. The reason we put a thicker gauge screw in is so it gets a good bite into the roof batten.
There has to be a batten under a roof screw on a metal roof. It’s actually pretty easy to install solar on a tin roof – as long as the roof was installed by someone who took a lot of pride in the roof screw lines. The installers can just follow the roof screw lines when installing the solar mounting system.
On a tile roof, the individual tiles need to be lifted up to identify where the roof truss is located. Once that’s complete, it’s time to grind down the underside of individual tiles. The reason we grind down the underside of the tiles that cover the trusses is because we mount our tile bracket (the foot) using two screws to each truss. Then we slide that tile back down on top of the bracket, so it won’t sit up on top of it.
If you don’t grind the tile, it will sit up on the foot and leave a little gap, 10 to 15 mm. That gap won’t leak – at first. It’s under the panels anyway. But by leaving that tile sitting up on the foot underneath, it creates a pressure point. The entire weight of the tile is resting on the foot, which creates a pressure point that will – in 5, 10, or 15 years – most likely crack. And that’s when it will leak. So tile roof installations require a fair amount of tender love and care.
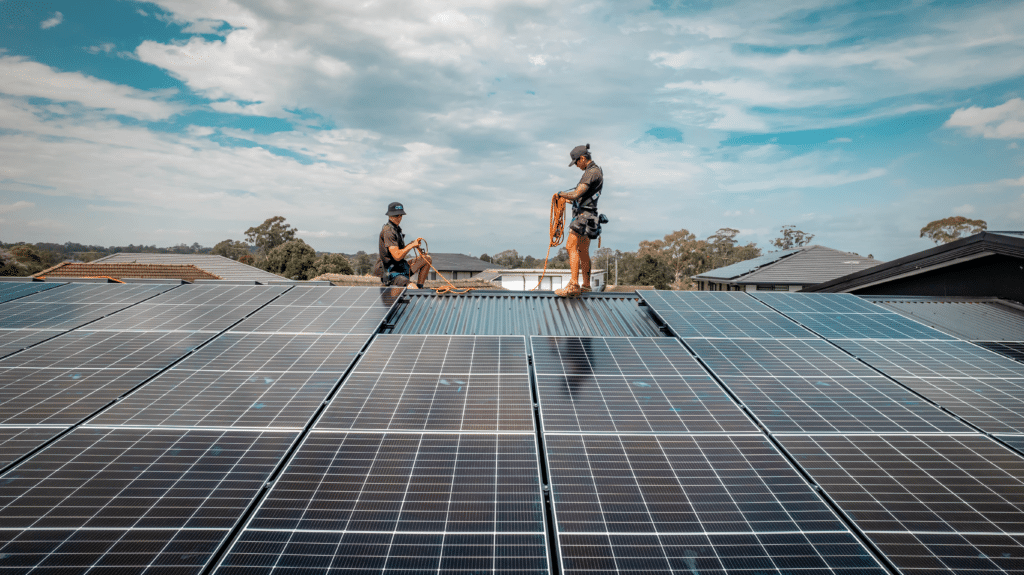
Once the feet are installed, tin and tile solar mounting system installations are very similar. The rail, which is 4.4 meters long, attaches to the feet. The feet themselves have some small adjustment in them; about 30 mm worth of up or down. Once the ends of the rail are connected and levelled off, we run a string line from corner to corner and top to bottom of the array and level out the racking. Even if the roof is a little bit wonky, or if it has a wave in it, we can usually get it perfectly level. Levelling the solar mounting system is important for the best finish possible.
Microinverters are mounted on the level mounting system and the cabling is attached to the rail.
The solar panels mount on the rail and are held down with mid clamps and end clamps. Now it might be obvious, but the end clamps go at the end of the rail and the mid clamps go between every single panel.
An earthing washer is placed between the solar panel and the rail. It ensures that there is earth continuity across the whole array. We actually do a test from the ground up to the panel to make sure that each panel has earth present in it.
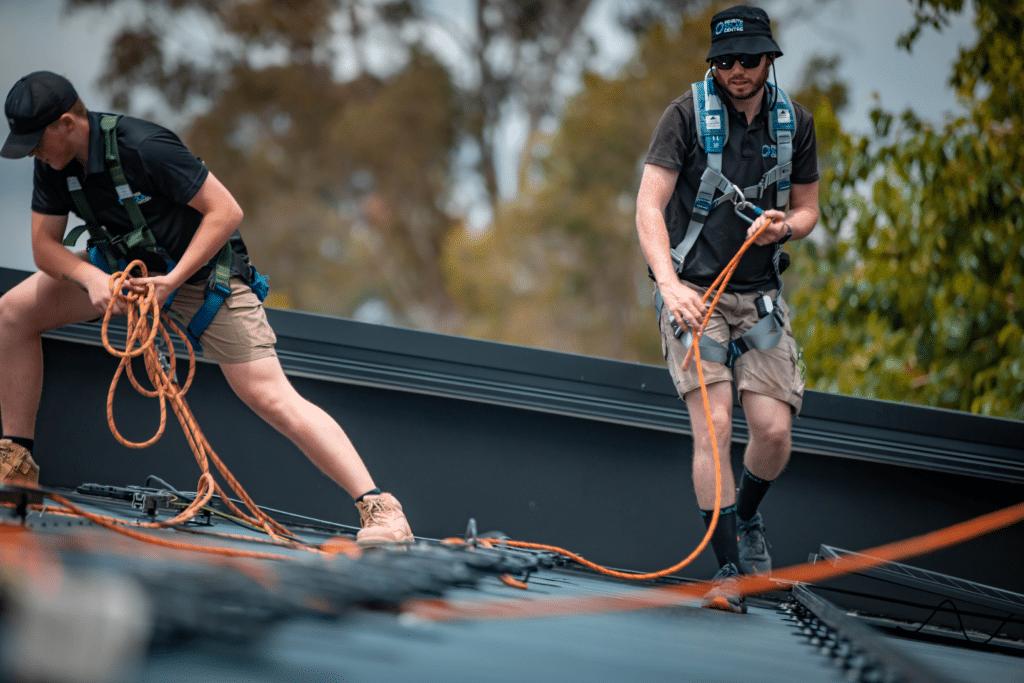
We also mount our cables, and in a DC system, the DC cable is typically secured to a racking system using stainless steel cable ties. If your installer prioritizes your cables, they will likely use nylon-coated stainless steel cable ties. The firm rule is that more than 50% of your cable support must be permanent.
Using nylon cable ties for your entire installation doesn’t meet this requirement. You can start with nylon cable ties and then overlay them with stainless steel, which may be more convenient. Alternatively, you can opt for a 50/50 split. However, be aware that nylon ties won’t endure over time. A good one might last 15 years, while a poor cable tie might be lucky to last five.
We exclusively use stainless steel, employing about one-third nylon and two-thirds stainless steel. With Enphase, we are fortunate because much of the cable sits on top of the microinverter. The purpose of cable ties is to prevent cable sagging and touching the roof. In addition to cable ties, we use stainless steel clips to secure the cables. These clips hold up the cable, and we typically use one nylon tie per panel to pin and set the cable. Then, we go over the top with stainless steel cable ties, which have a nylon coating. You’ll notice two nylon stainless steel ties to one actual nylon tie, and in between, you’ll likely see two to three stainless steel clips, either attached to the rail or the panels.
When we bring cables through the roof, whether it be tin or tile, we cut a 28 mm hole, we seal it with Sikaflex, and we use a dektite product over the top of that as well. So if it’s a tin dektite, it’s a smaller size and style dektite — like a flashing. If it’s a tile dektite it’s much bigger. It’s the dektite with a lead flashing on it as well so that prevents any kind of roof leak.
That covers the installation process.
For more information about working with Penrith Solar Centre’s installation process, you might want to check out the following article titled, In-house Installers vs. Subcontractors: Which is Better?
Why We Like Schletter Brand Solar Mounting System
Schletter is our preferred racking system. We love their product because their quality control process is meticulous and uncompromising.
They offer unwavering support. Any tricky roof that we might have we will need additional engineering for, Schletter will be able to send out a team of engineers. They will design it for us and work with us on the solution.
Extended Warranty: They stand behind their product. The warranty is one of the best in the business: 25 years. Their competitors have warranties that last 10 or 15 years. This is actually pretty important, and a detail that’s easy to gloss over.
Schletter racking systems have the same warranty period (25 years) as the solar panels. It’s one of the most important reasons why we use Schletter. If the racking system fails, the entire system fails. An example of this would be if the racking rusted out and experienced weather severe enough to collapse the panels and rails.
The lifespan of the solar mounting system needs to be the same as the lifespan of the solar panels.
If you’re interested in learning more about solar warranties, you might want to check out the following article titled, A Complete Guide to Solar Warranties.
Extreme Conditions: Their product is specifically designed and engineered to withstand the harshest inclement weather on the planet regardless of where it’s located. Whether that’s the extreme heat of the Sahara Desert or the Arctic Tundra of Canada where the temperatures drop into the negative digits.
If you’re interested in learning a bit more about Schletter’s durability and sustainability, you might want to check out this link to their guarantees.
Global Reach: Schletter is a leading racking system brand worldwide, dedicated to sustainability and renewable energy solutions.
Aluminium: The primary material used in the racking system is aluminium. Known for its lightweight nature and resistance to corrosion, aluminium ensures that the racking holds up for the duration of that great warranty.
All-Black Anodized Racking: This is one of our favourite aspects of Schletter racking systems. They look amazing when paired with an all-black solar panel on a roof. The anodized treatment of the aluminium protects the aluminium from the elements better than exposed silver options. The rail is anodized in black at 20 microns. It holds up better to rust and elements that the raw aluminium finish you see on cheaper solar system.
The black sleek look of the anodised rail versus non-black rail with a raw finish is like braces versus Invisalign. Now braces and Invisalign or both straighten your teeth, and they’ll both do it in a respectable amount of time. The results will be very, very similar. The difference with Invisalign is that it happens very discretely. Most of the work is done at night, and you’re wearing a clear plate or retainer that straightens your teeth. It ultimately gives you a seamless experience, which is aesthetically pleasing to some people.
Now That You Have the Inside Rack…
Armed with a deeper understanding of the nuts and bolts (literally) of the racking system, you can confidently ask your installer more pointed questions than you could mere minutes ago. You now know what a racking system is, how we install them, and why we prefer Schletter brand racking for all our installations.
At Penrith Solar Centre, we want you to be informed, certainly, but we also want you to be as certain as you can be about the choices your solar installer might steer you towards. This conclusion is not an ending, but instead a segue into continuing your solar education.
In that spirit, we recommend you check out the following article if you liked this one: How Do Microinverter Systems Work?